Creating a Layout in LiveCode Create
This guide will explain how to create and manage layouts effectively.
What is a Layout?
A layout is a collection of widgets (buttons, lists, fields, etc.) and containers displayed together to form a screen or view within your app. Layouts are versatile and can be used for:
- Standard app screens (e.g., dashboards, home pages).
- Dialogs or modals that appear temporarily.
- Interactive forms or pages to display data.
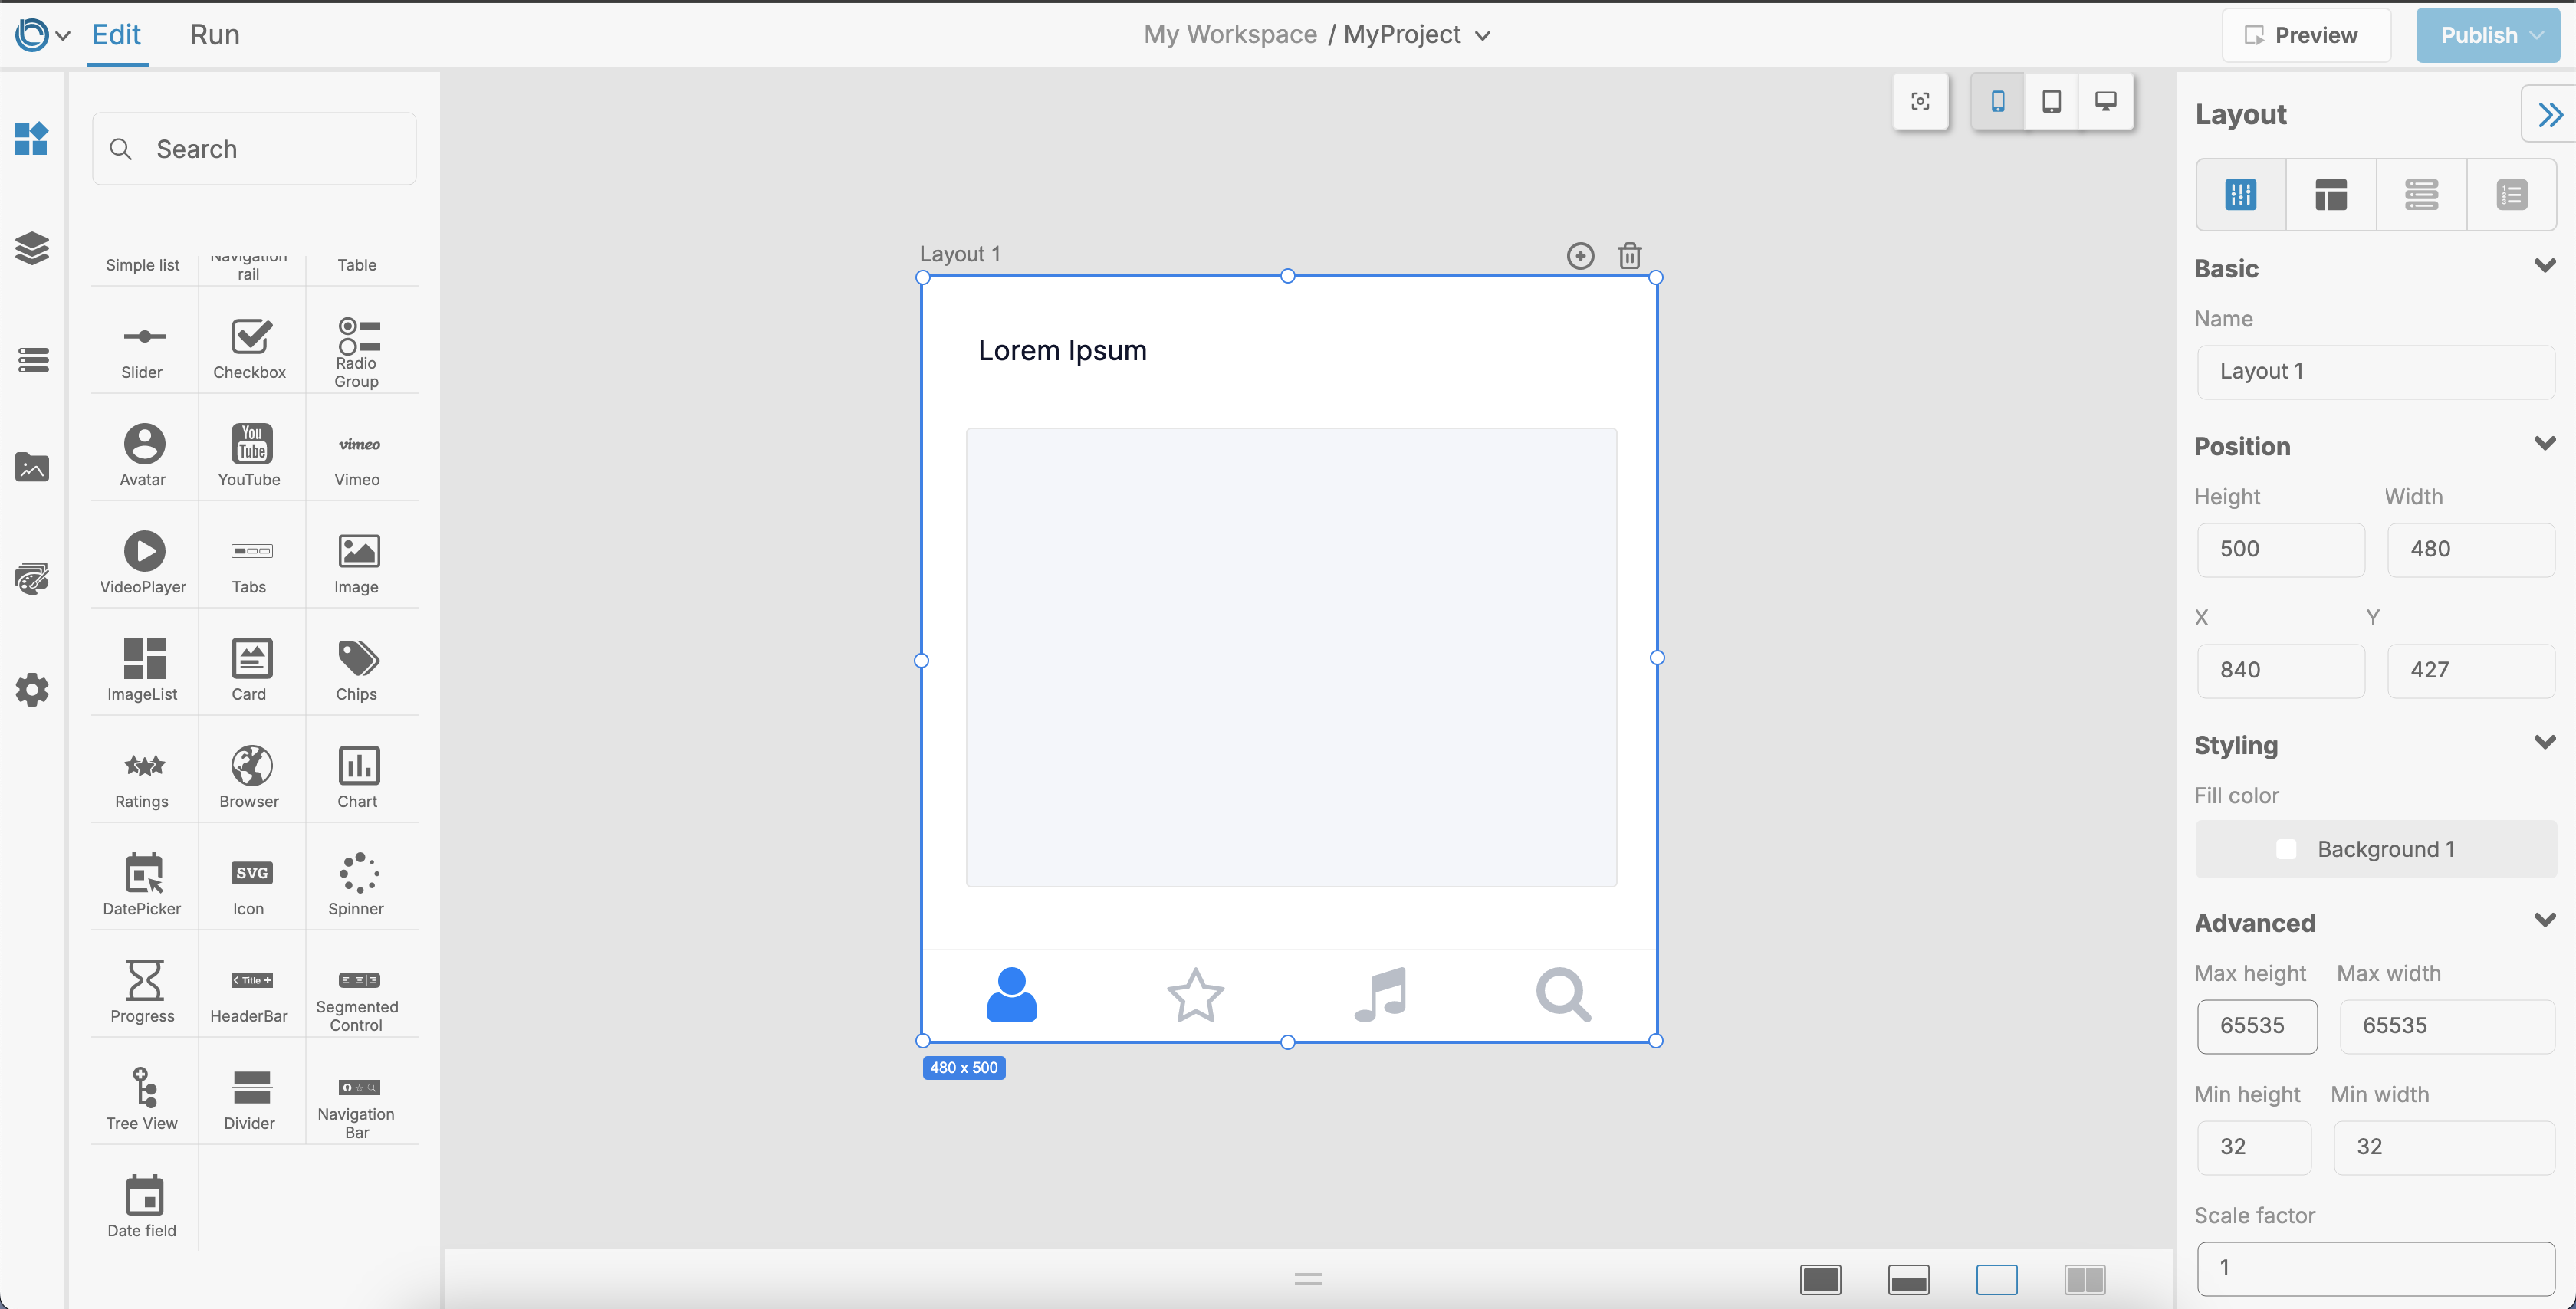
Layouts sit on the Canvas Area in the App Building Environment, where you can visually design and edit them.
Creating and Managing a New Layout
There are 2 main ways to create and manage layouts in Create:
-
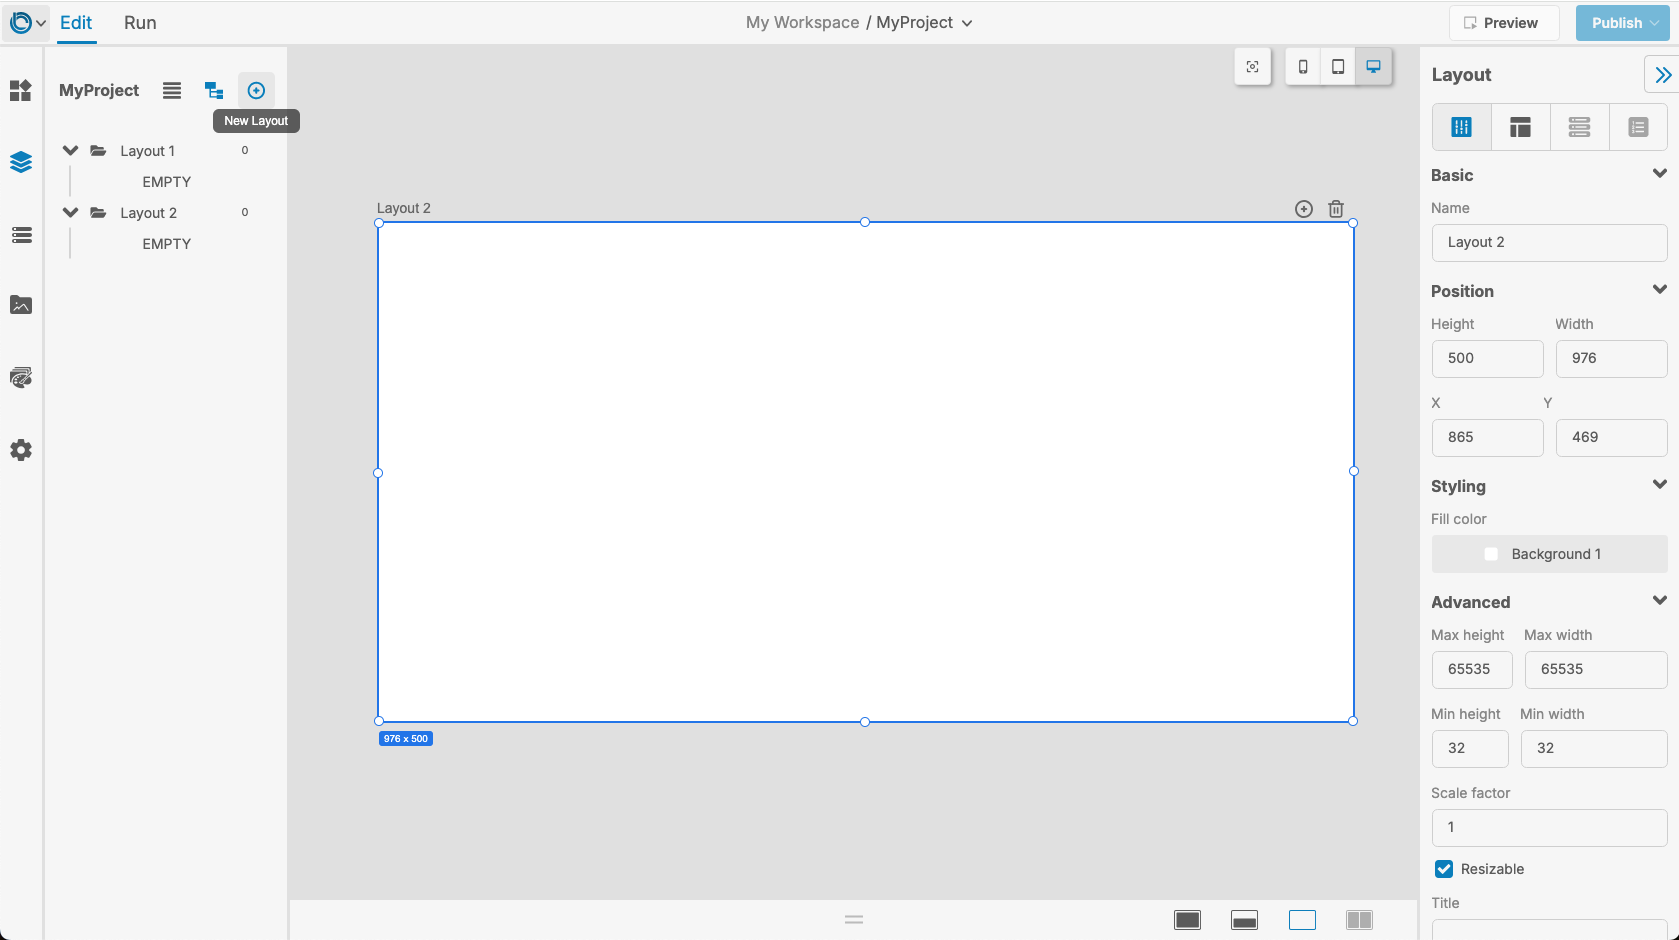
Canvas Area Buttons:
In the Canvas Area of your LiveCode Create project, there will be a plus icon (➕) in the top left of your current layout, that when clicked will create a new layout for you. It's also accompanied by a trash icon for deleting the current layout, and your layout can be resized by clicking on the layout and dragging its resize handlers. -
Project Browser Button:
To better manage your project, it makes sense to handle your layouts almost entirely through the Project Browser. To create a layout using it:- Navigate to the Project Browser in the left-hand toolbar.
- At the top of the Project Browser, click the plus icon (➕) to add a new layout.
From here you can see where in your project your layouts are. Clicking on a layout's Project Browser item will take you to it in the Canvas Area. You can also right click on its item to pull up options for renaming, duplicating, and deleting the layout. After you've populate your layouts with widgets, you can easily manage these as well in the Project Browser.Learn more: Project Browser Guide
Adding Widgets and Containers to a Layout
Widgets are the building blocks of your layout. Use the Tools Palette to add widgets like buttons, text fields, images, and lists to your layout. You can also drag containers out from the Tools Palette to organize your widgets into groups to easily position them using Responsive Layout.
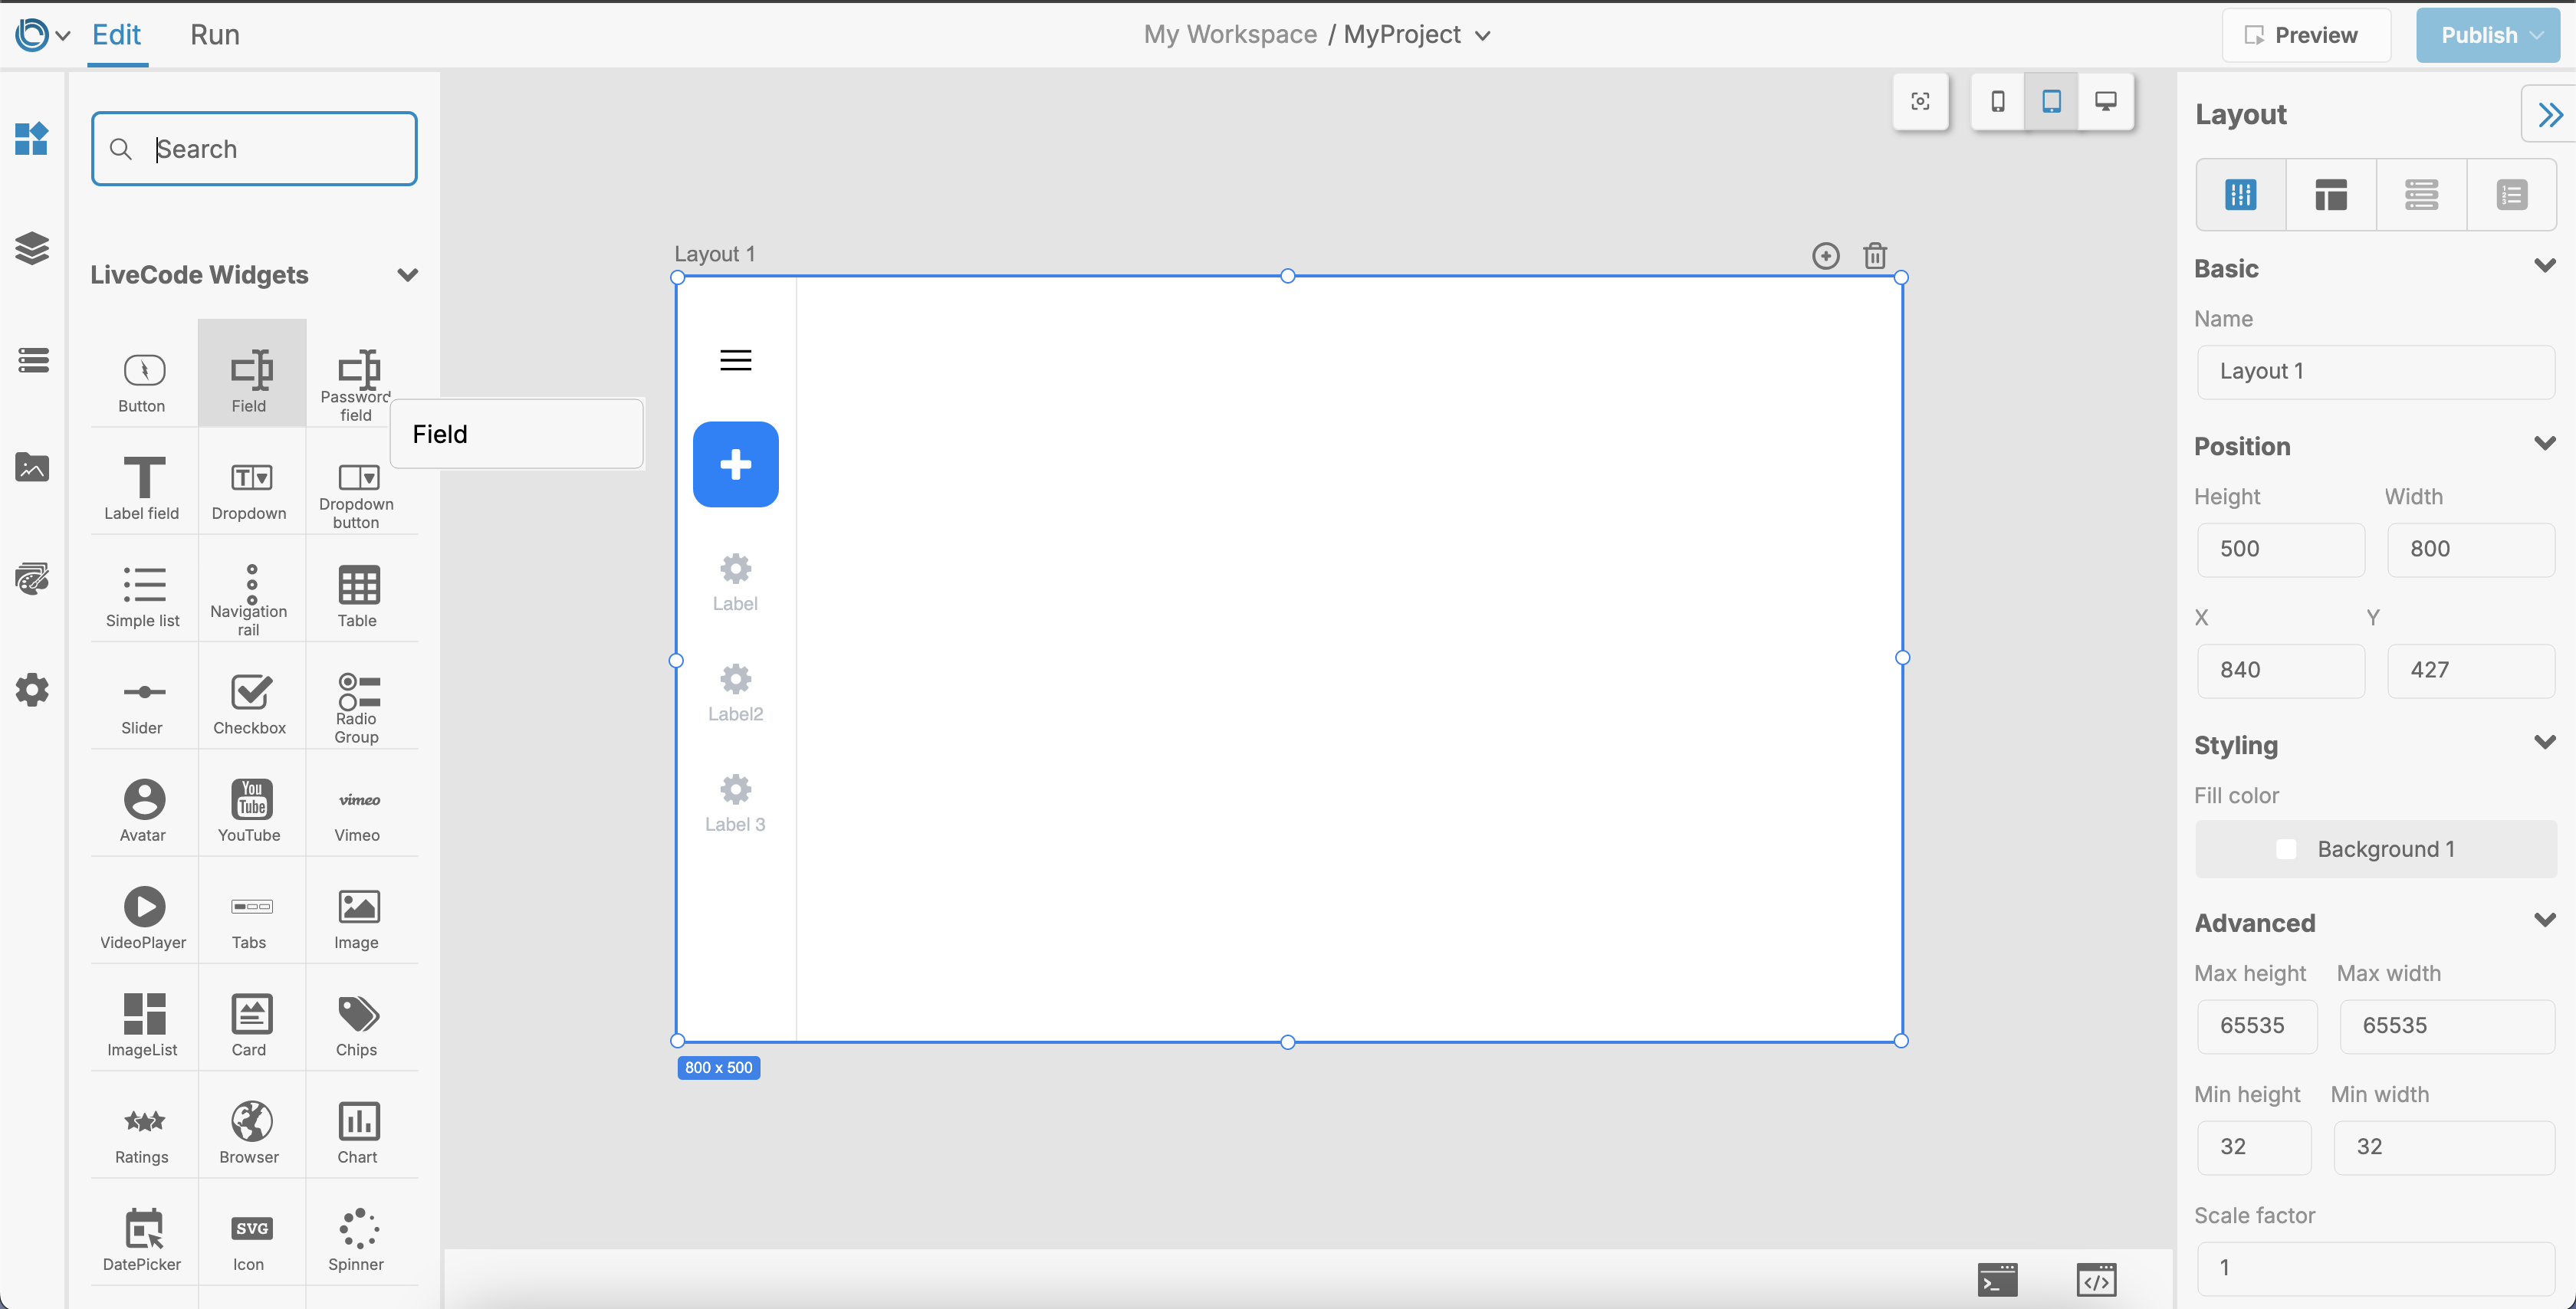
Steps:
- Open the Tools Palette from the left-hand toolbar.
- Drag and drop a widget onto the Canvas Area (the active layout).
- Use the Property Inspector to customize the widget’s appearance, behavior, and data binding.
Learn more: Tools Palette Guide
Working with Layout Breakpoints
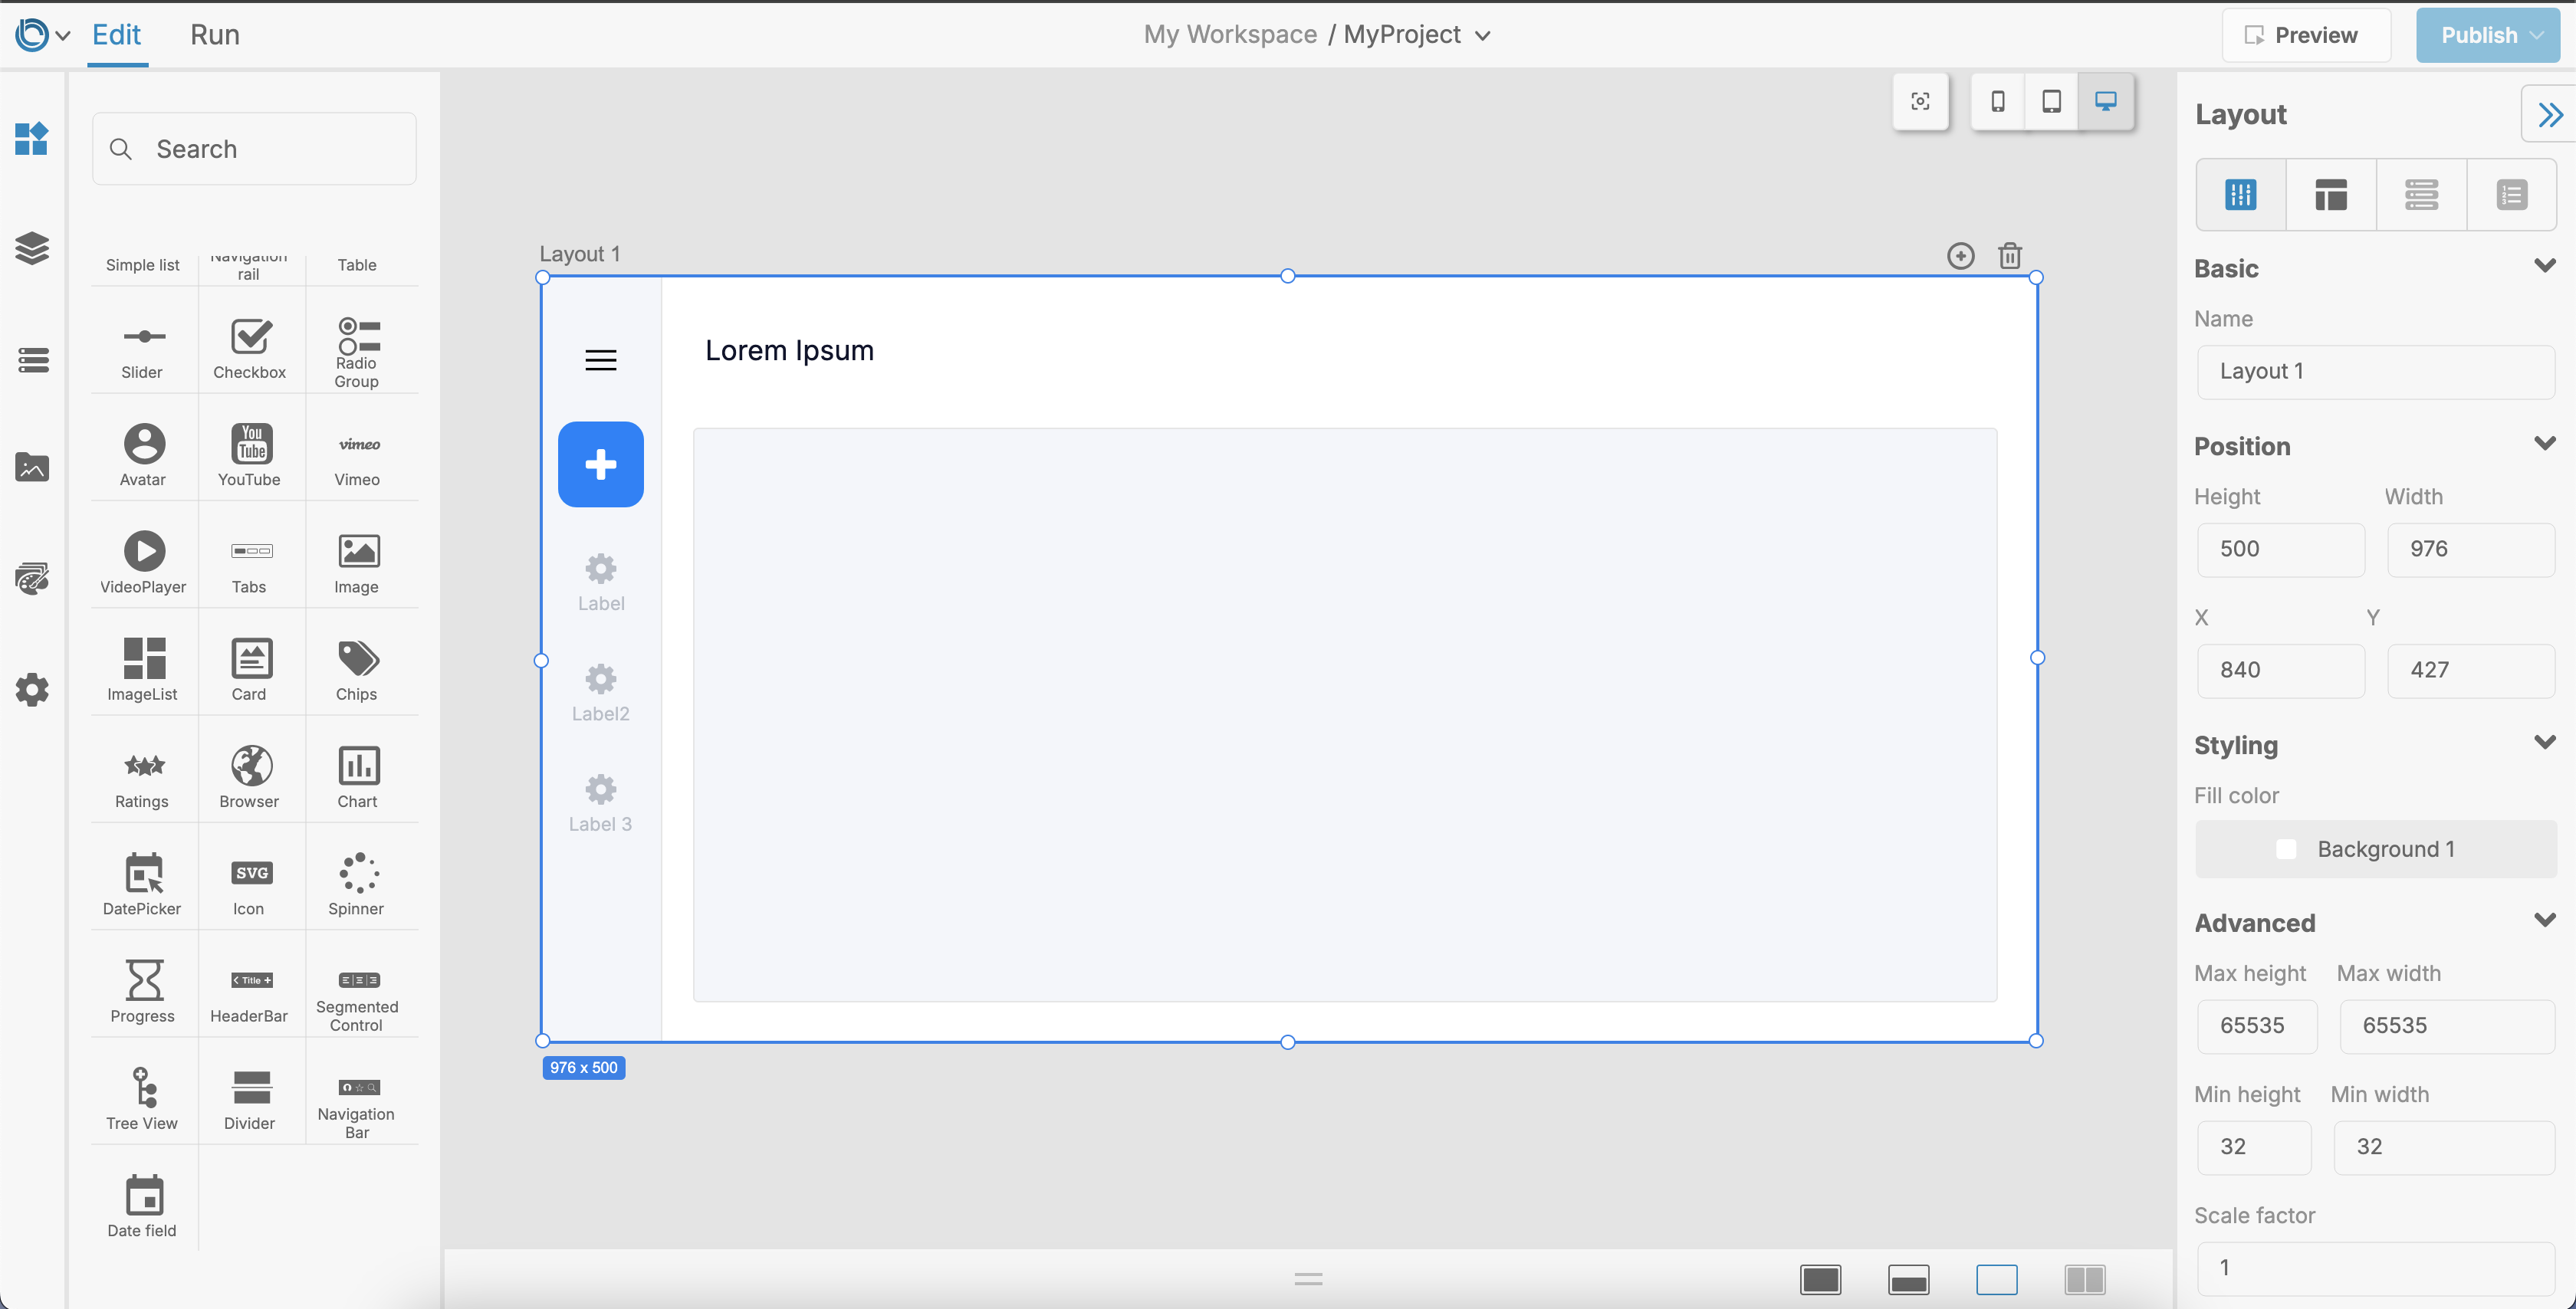
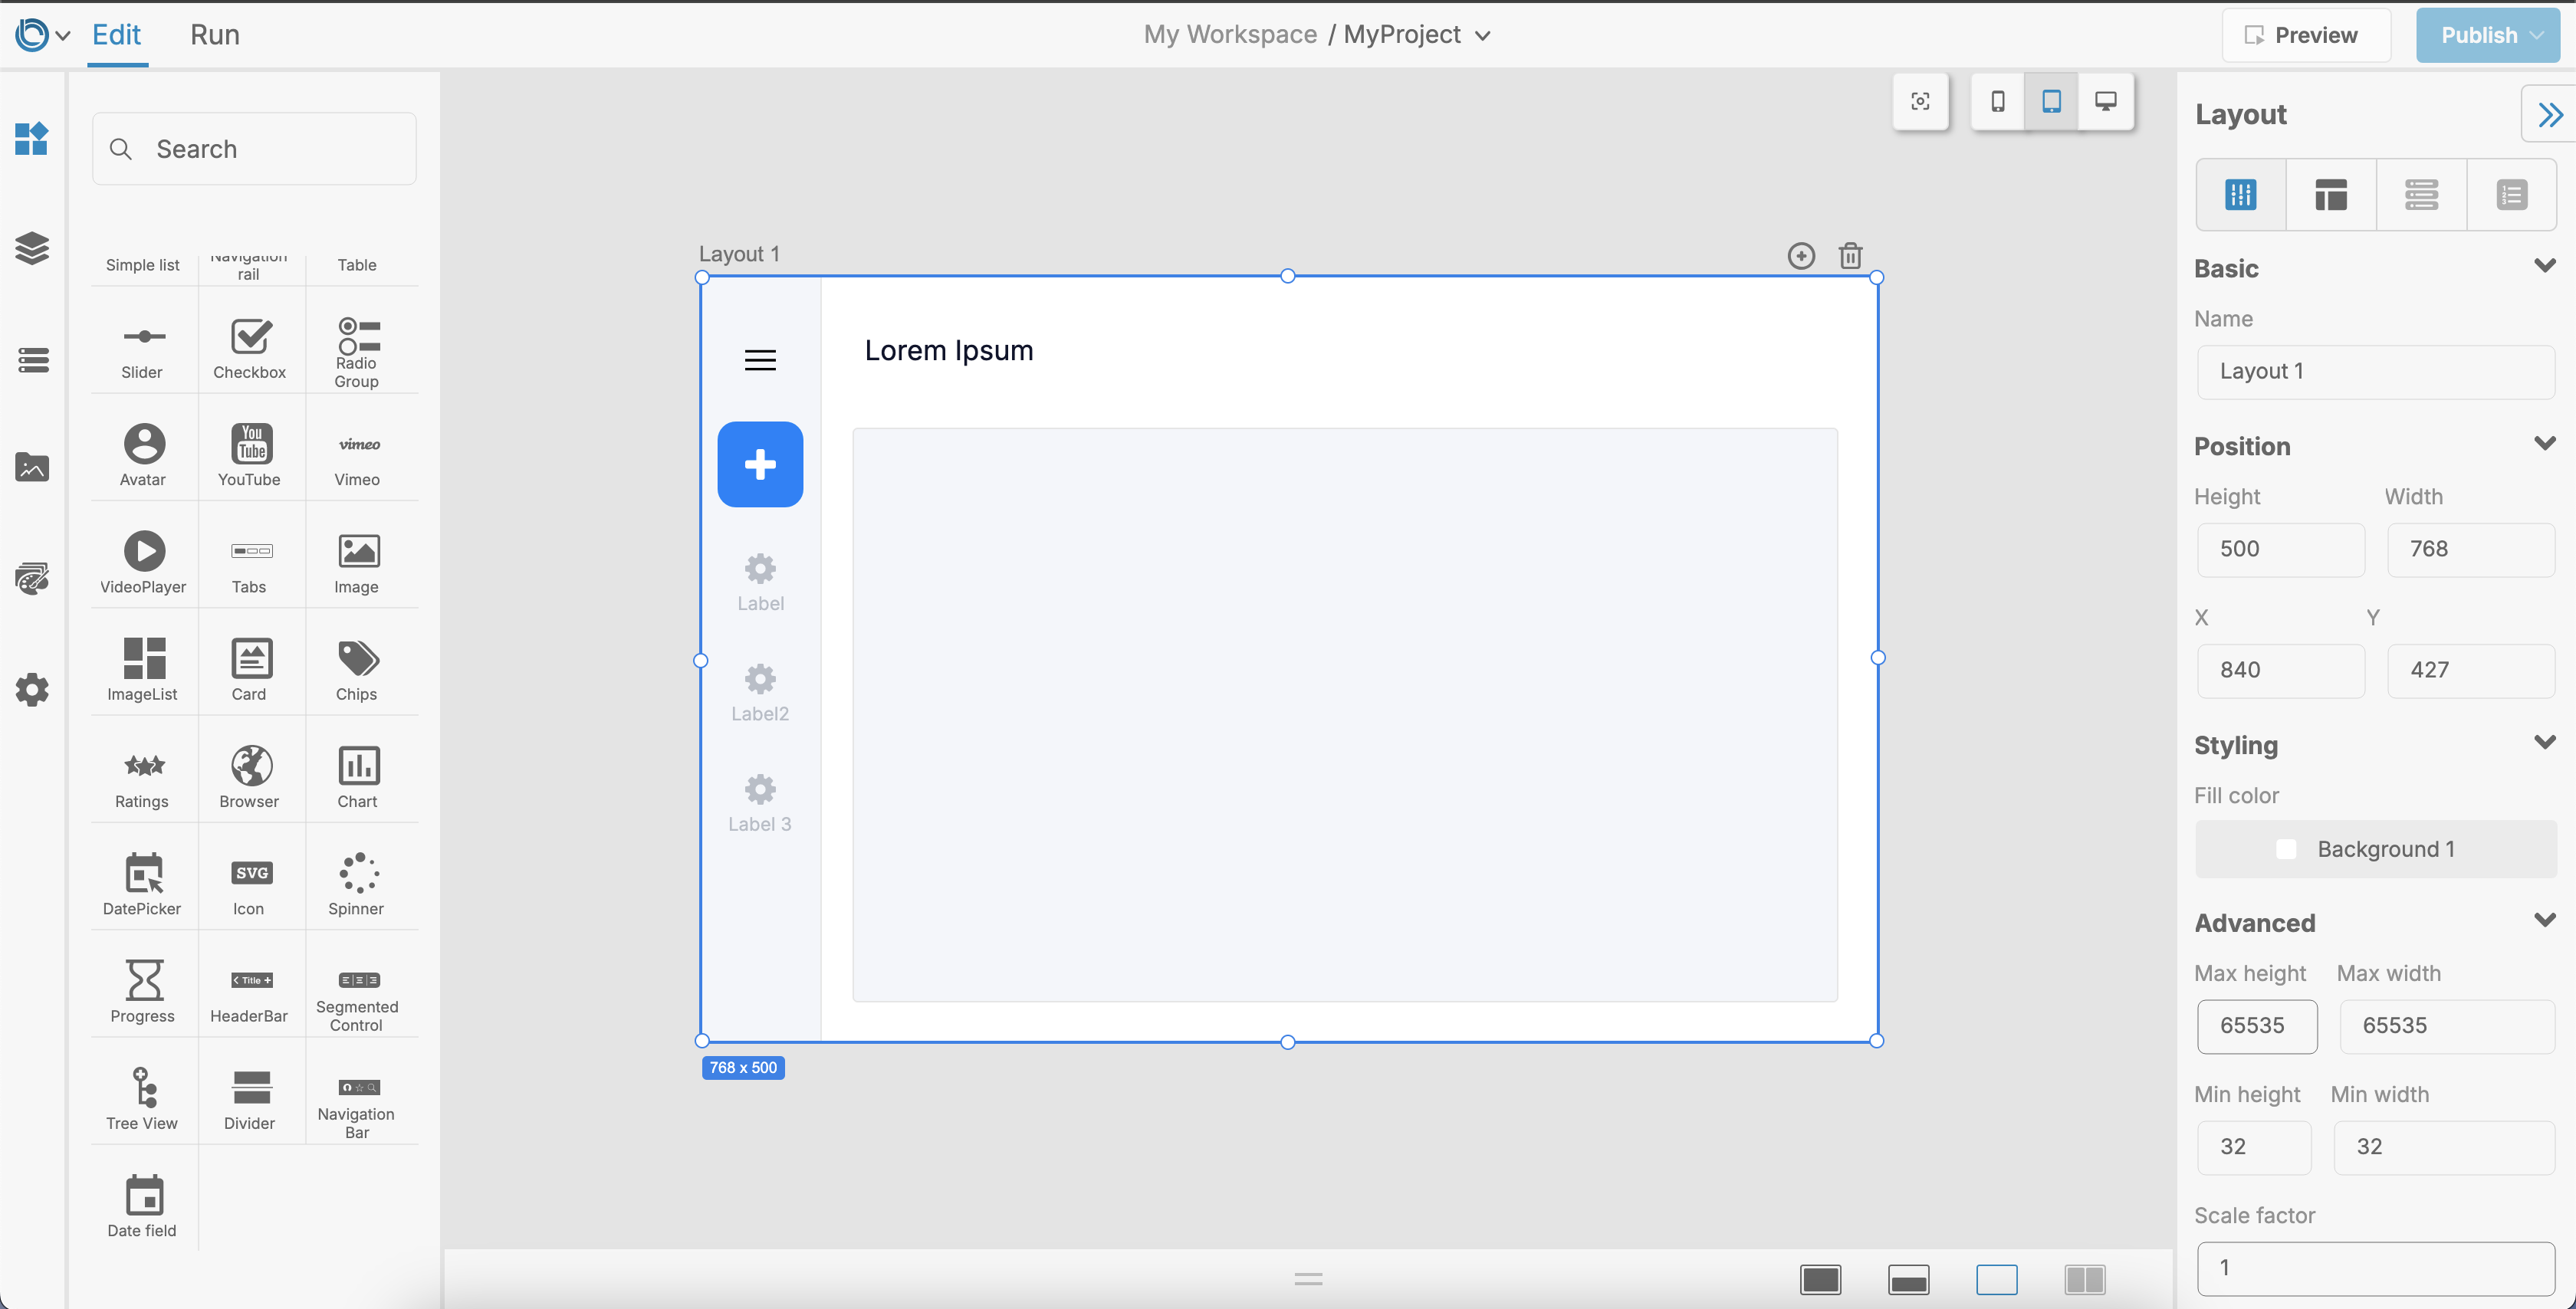
Breakpoints allow you to design responsive layouts that adapt to different screen sizes (e.g., mobile, tablet, and desktop). Differet widgets and functionality can be added to each breakpoint, to help accommodate for different platforms from one project.
Switching Between Breakpoints
- In the Canvas Controls above your layout, locate the Breakpoint Selector.
- Select the desired screen size:
- Small: For mobile screens.
- Medium: For tablets.
- Large: For desktops.
- Customize the size and position of the widgets on your layout for each breakpoint by setting their properties in the Property Inspector. This will ensure your app looks great on all devices.
Tip: Changes made in one breakpoint can cascade down to smaller sizes unless overridden.
Learn more: Designing a Responsive Layout
Tips for Creating Effective Layouts
- Reuse Layout Patterns: Duplicate existing layouts to save time when creating similar screens.
- Group Related Widgets: Use containers to group widgets and keep layouts organized.
- Test Across Breakpoints: Ensure your layout works well on all screen sizes.
- Use Consistent Styling: Apply consistent colors, fonts, and spacing across all layouts using the Theme Editor.